Continuing my before and after series, I thought it would be interesting to show you guys the transformation my apartment in Sofia went through. I bought the place in mid 2013 and started renovations in September that same year. It took a full year to get the dirty work and basic furnishings like the kitchen, bathrooms and bed out of the way (largely due to the fact that I was in London half the time so I couldn’t keep a close eye on progress) and another year to almost fully furnish it (I was picky on things like the dining table, chairs, the couch). Let me tell you, there were times I thought I’d never want to live in it once it’s done because of all the headache it caused me at the time, but I can’t imagine living anywhere else when I’m back home now 🙂
What I did just before we started renovations was to take photos of all the rooms. Then 2 years later I shot the place from the same angles (or as close as possible, given that the layout changed “a bit”) so it should make for an interesting comparison 😉
The design was done by my good friends at dontDIY.
Just for some context, here’s the floor plan which changed a bit, but it should give you an idea.

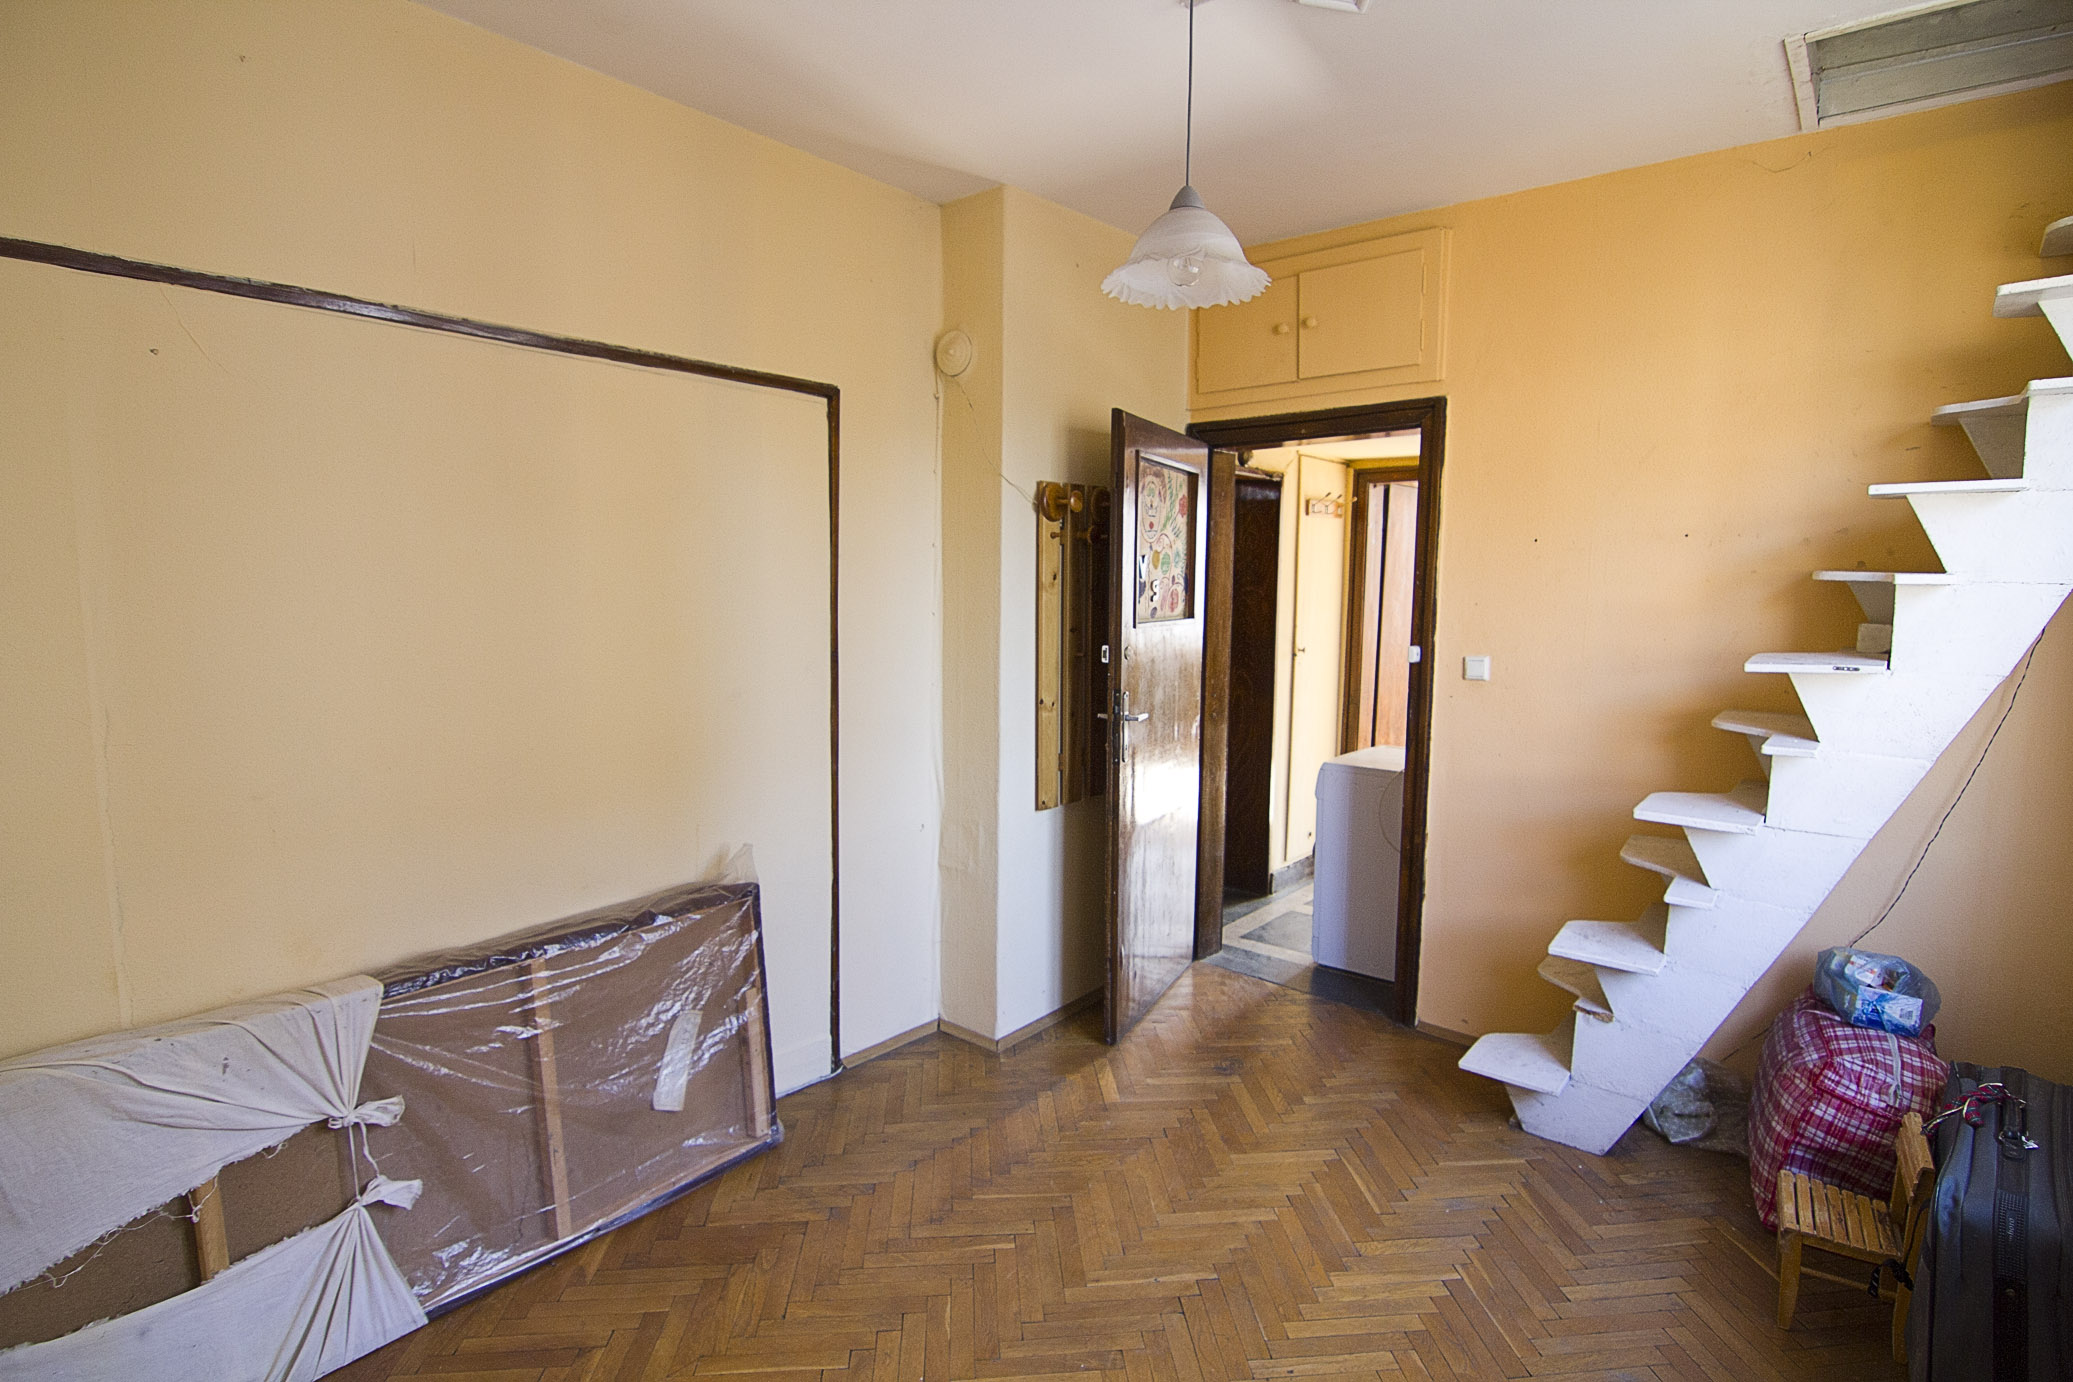
Starting with the front door..

The vestibule now has a large closet where the hallway to the former kitchen used to be.


The guest bathroom door is now to the side and I think it’s much nicer looking 😉


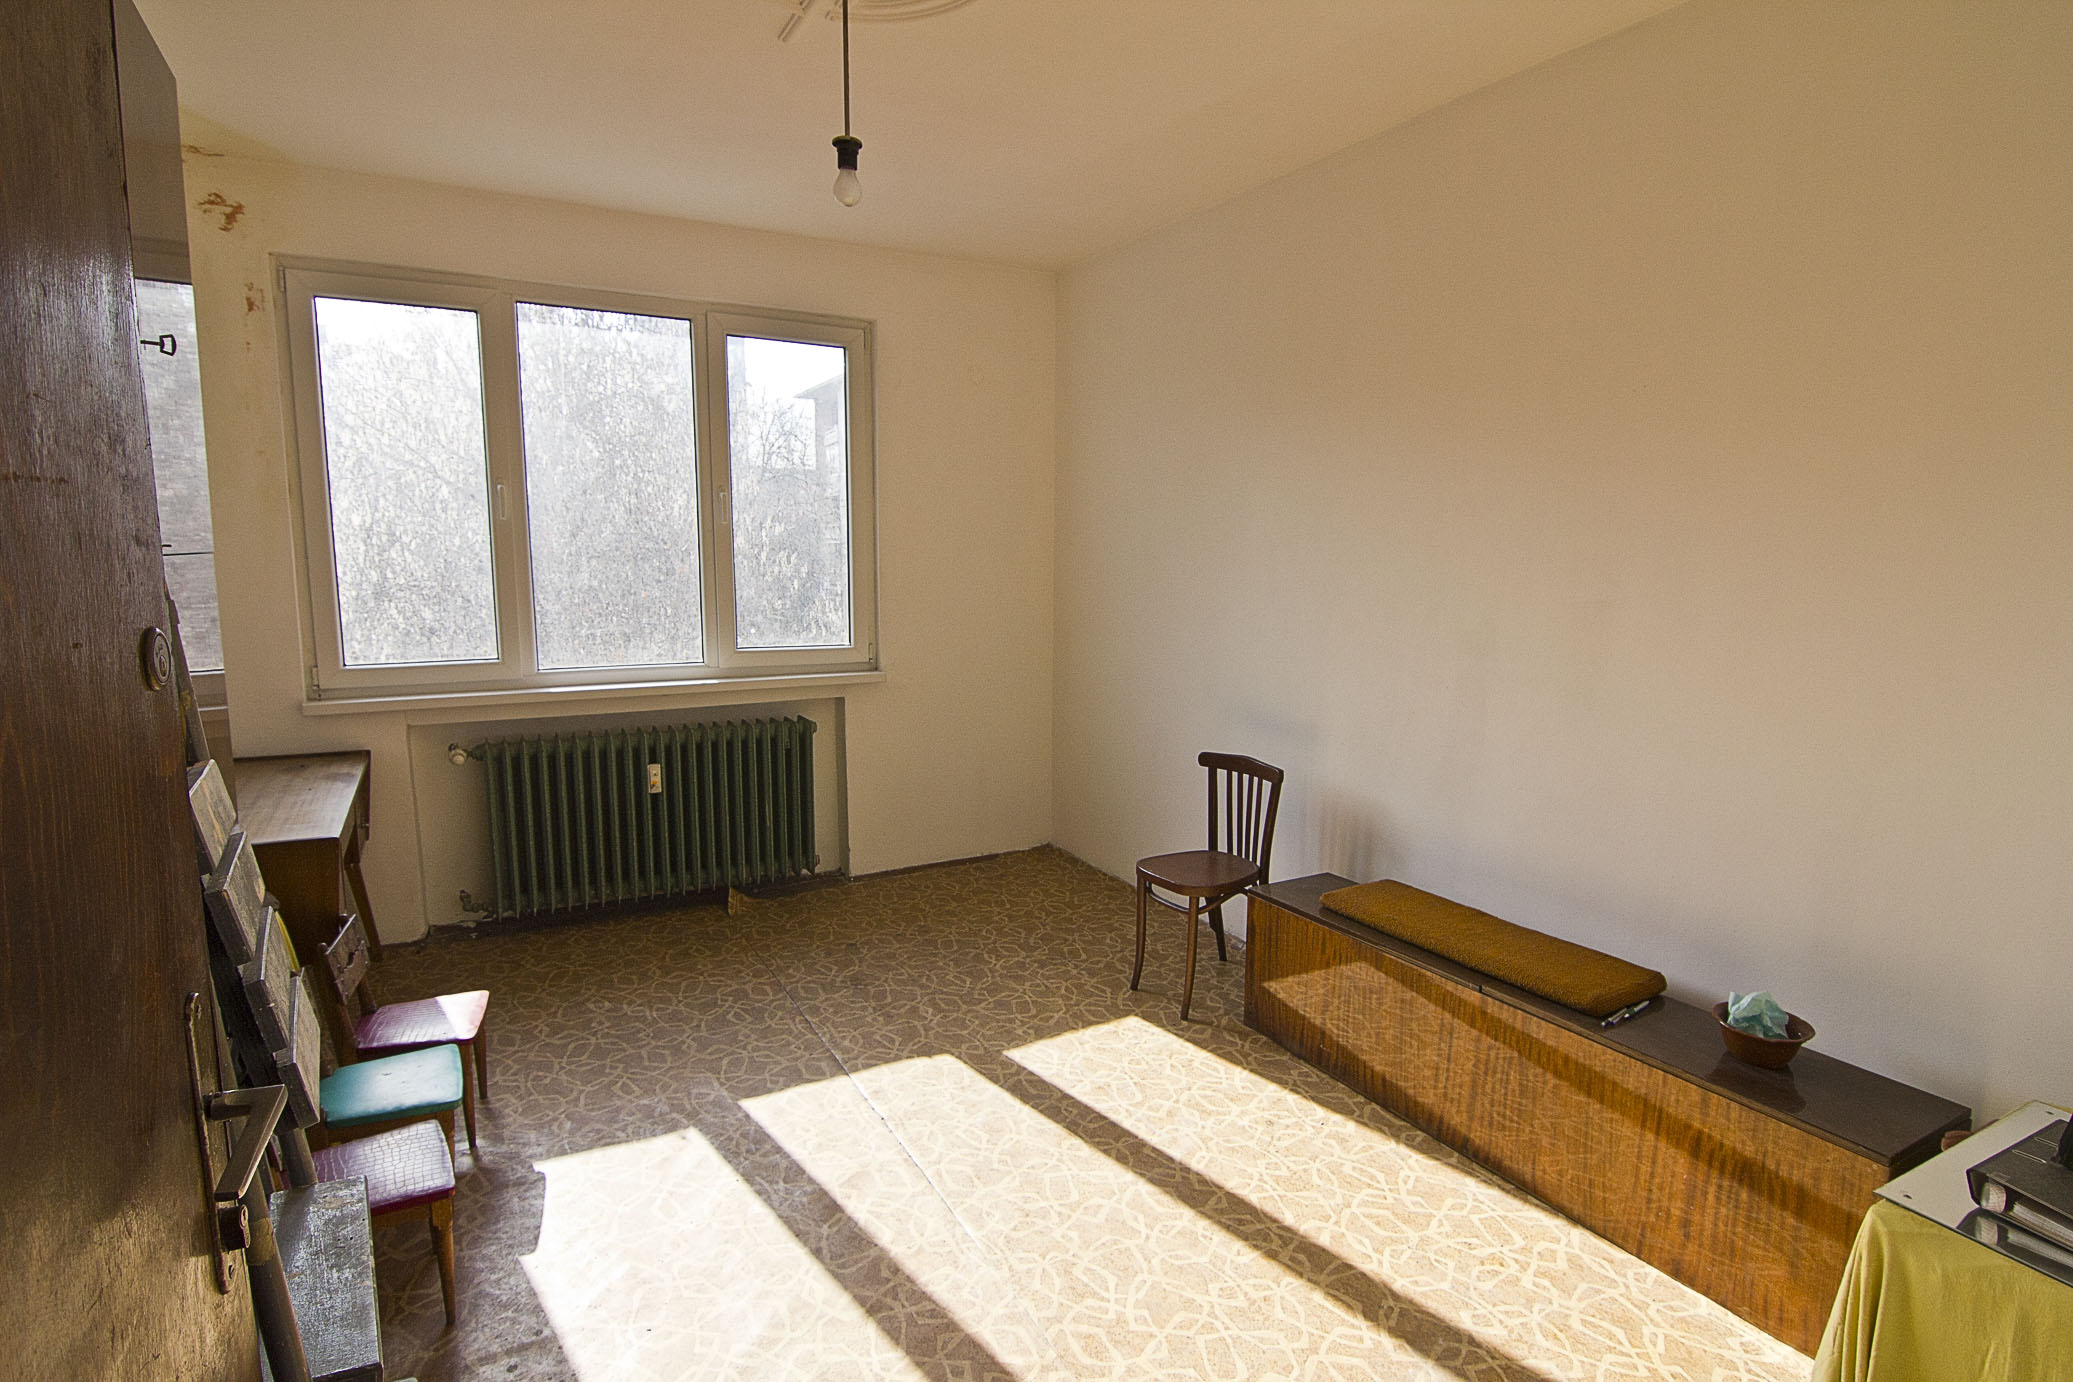
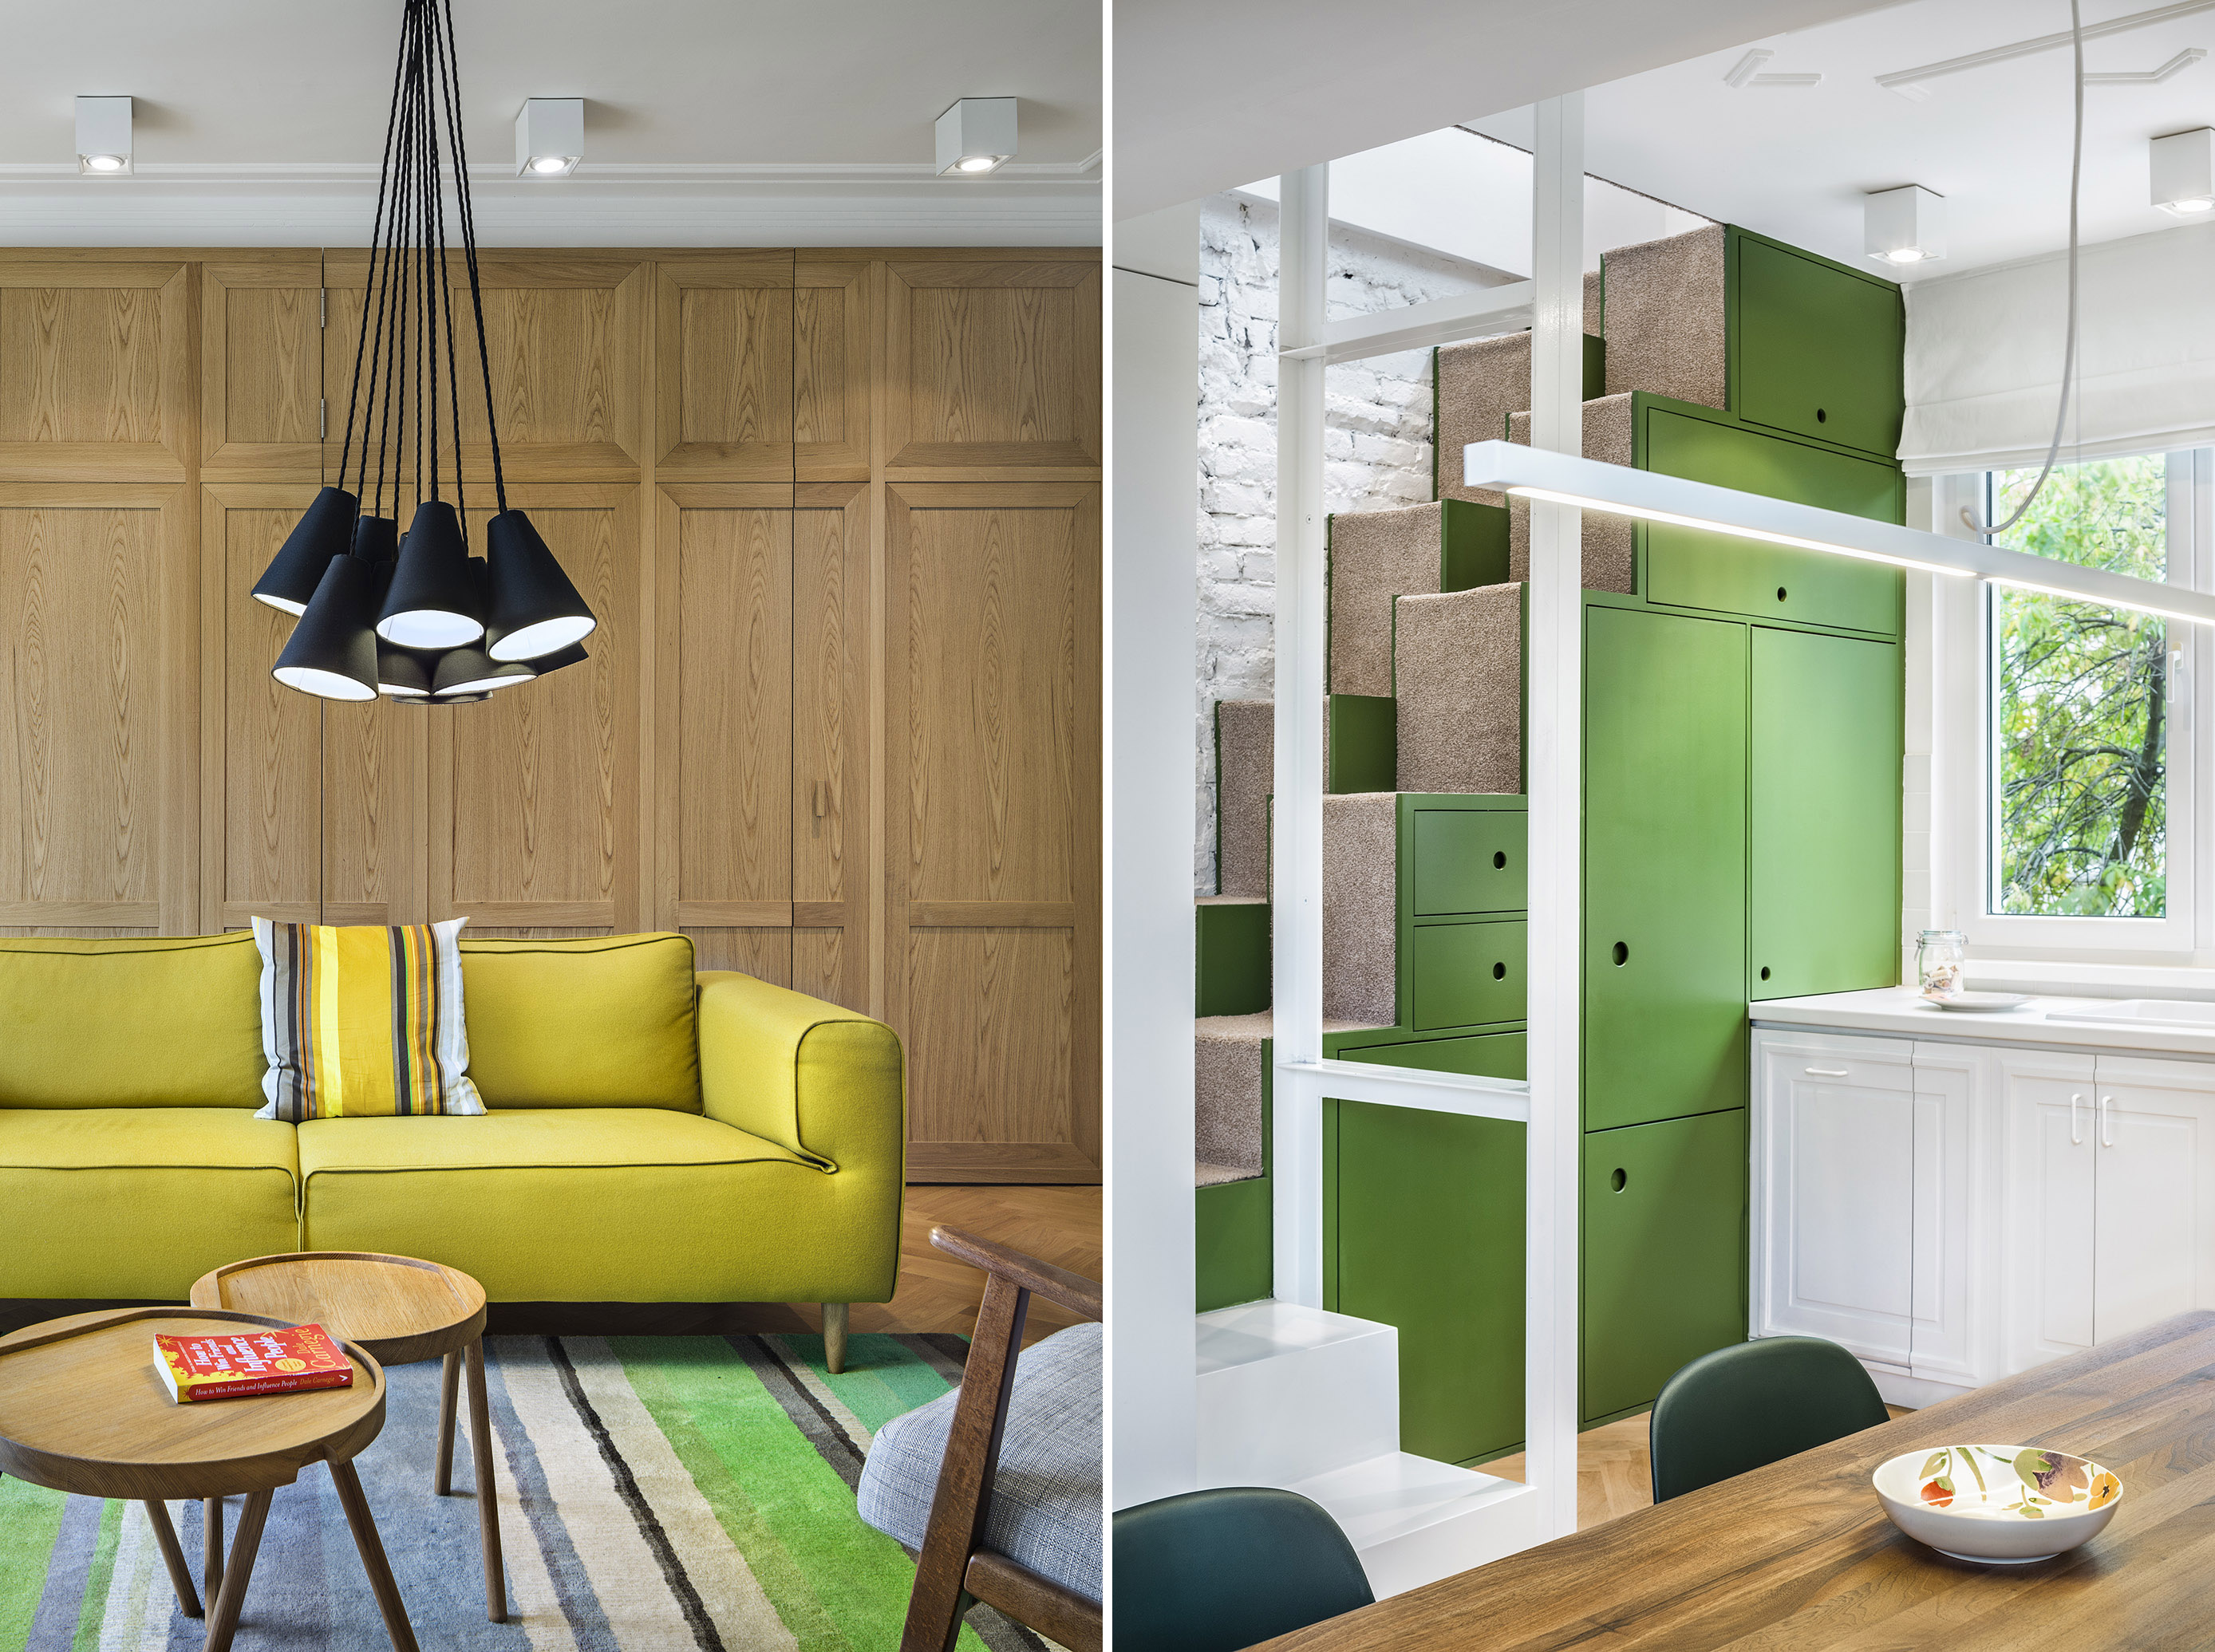
The former kitchen is now a study that’s part of the overall open space on the bottom floor.

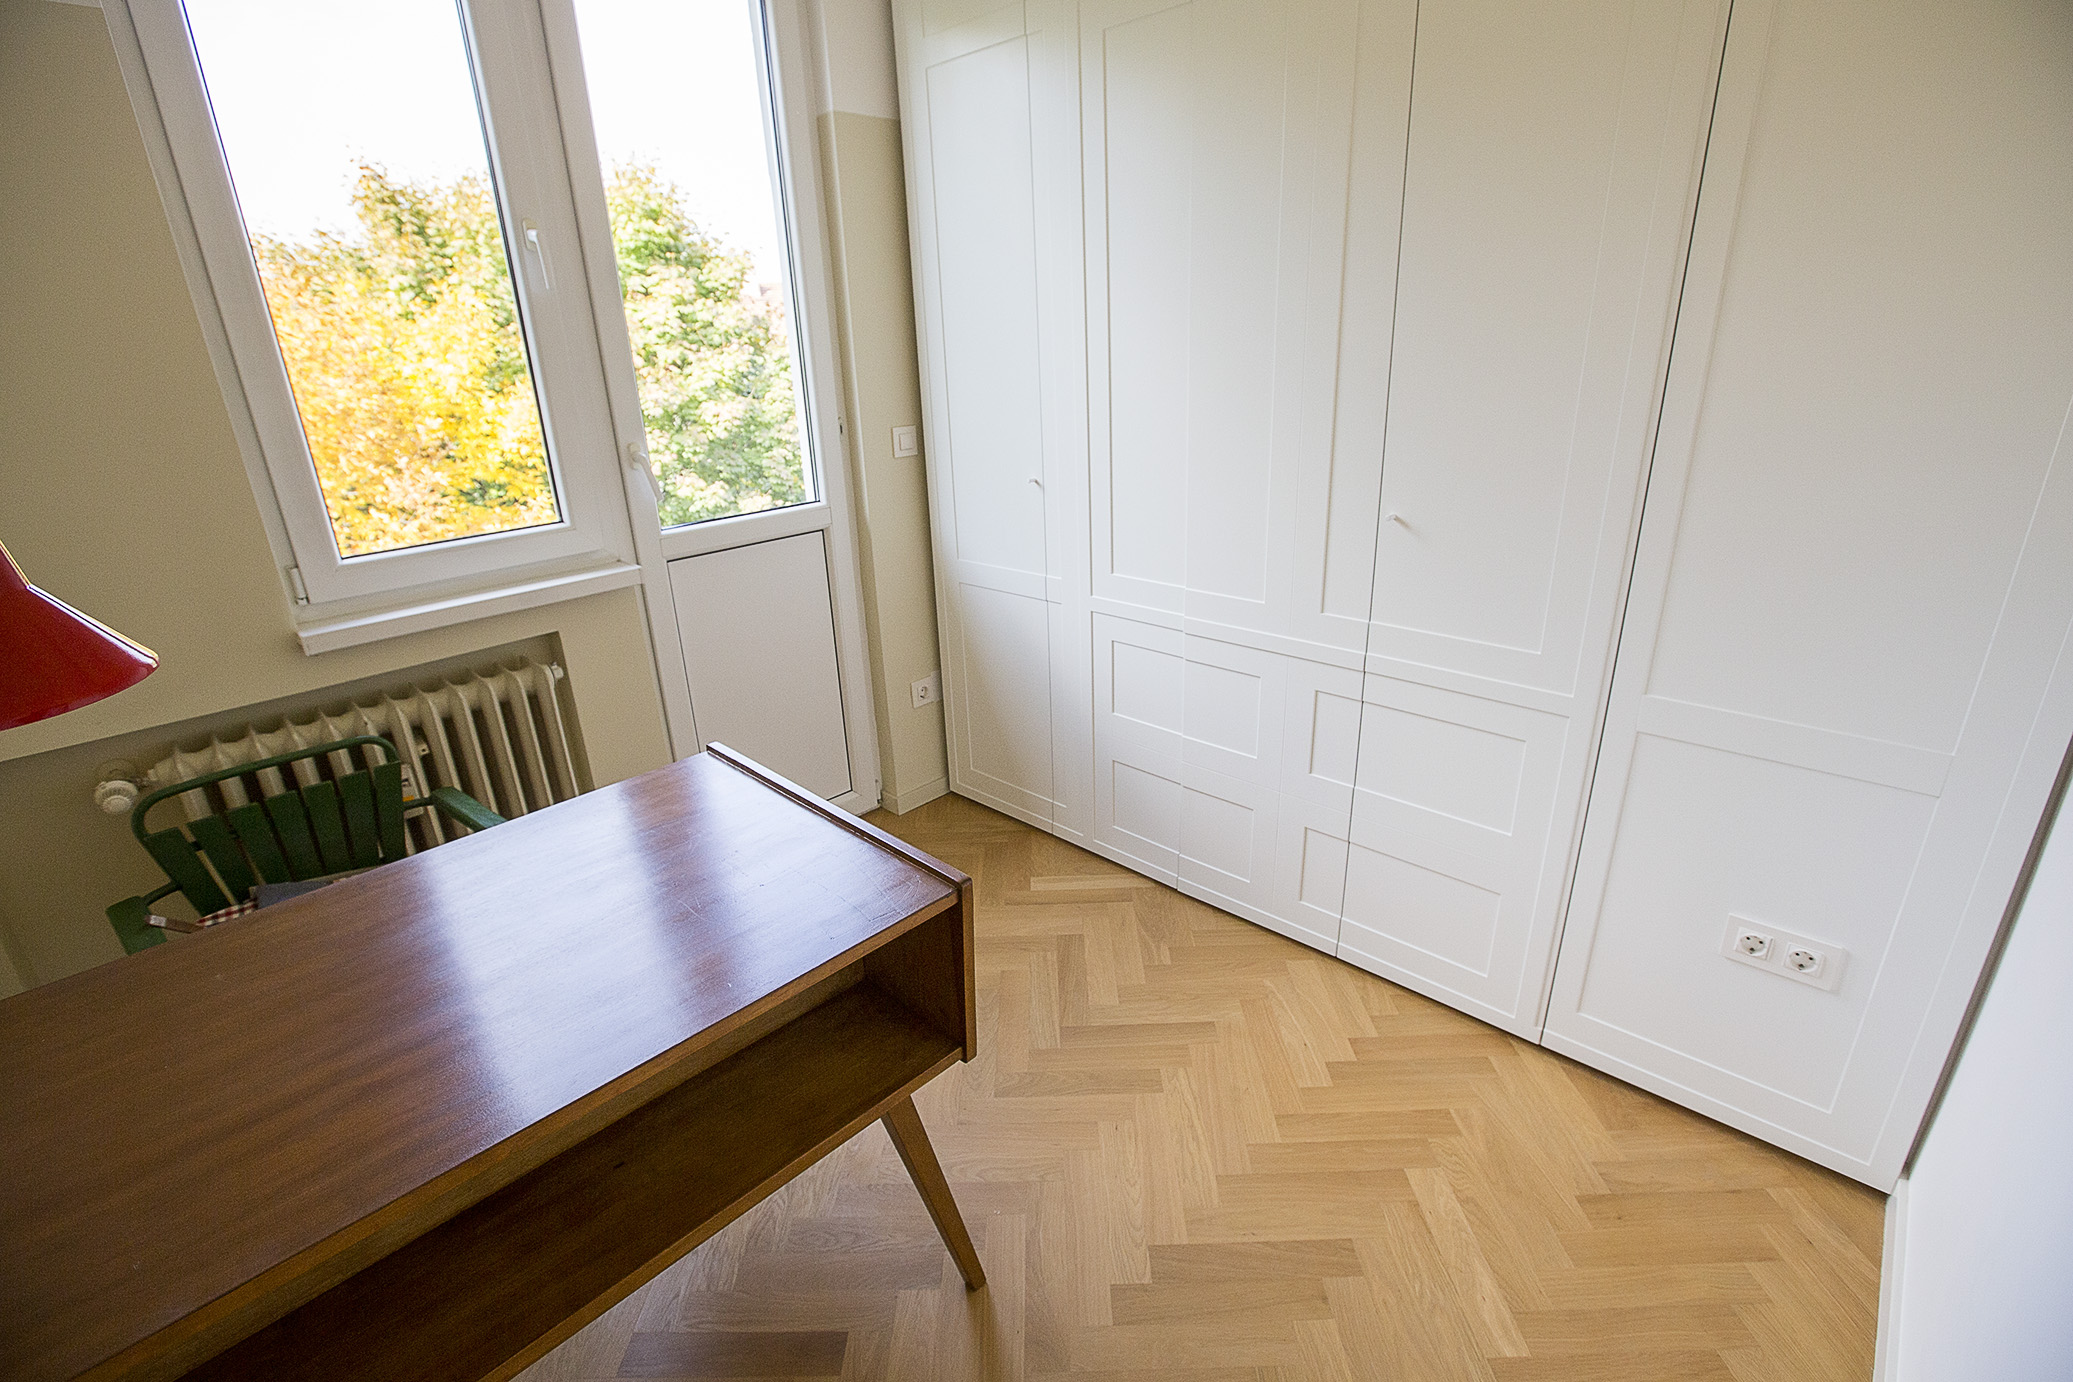
This is now a huge (and empty, wink wink) wardrobe 🙂

You can see where the former door is now shut and we’ve broken through the wall to give the apartment more space and light. Btw, the desk, green chair and lamp are all part of the original flat, albeit refurbished.


Best view of the flat 🙂 Gone is the artificial hallway, in are the almost floor to ceiling windows (we couldn’t do it structurally) and all that light and openness!


We opened up the other wall as well to connect the now kitchen / former bedroom to the main living room.


The entrance and the study. We tried keeping as many elements of the old apartment as possible — the ceiling ornaments, the frame of the former kitchen door, the vestibule mosaic. I think they all add to the charm. Please note instead of a TV I have a scratchable map of the world, in case you’re wondering why I keep going on adventures 😉


One thing that we did not keep though was the old main bathroom which is completely overhauled.

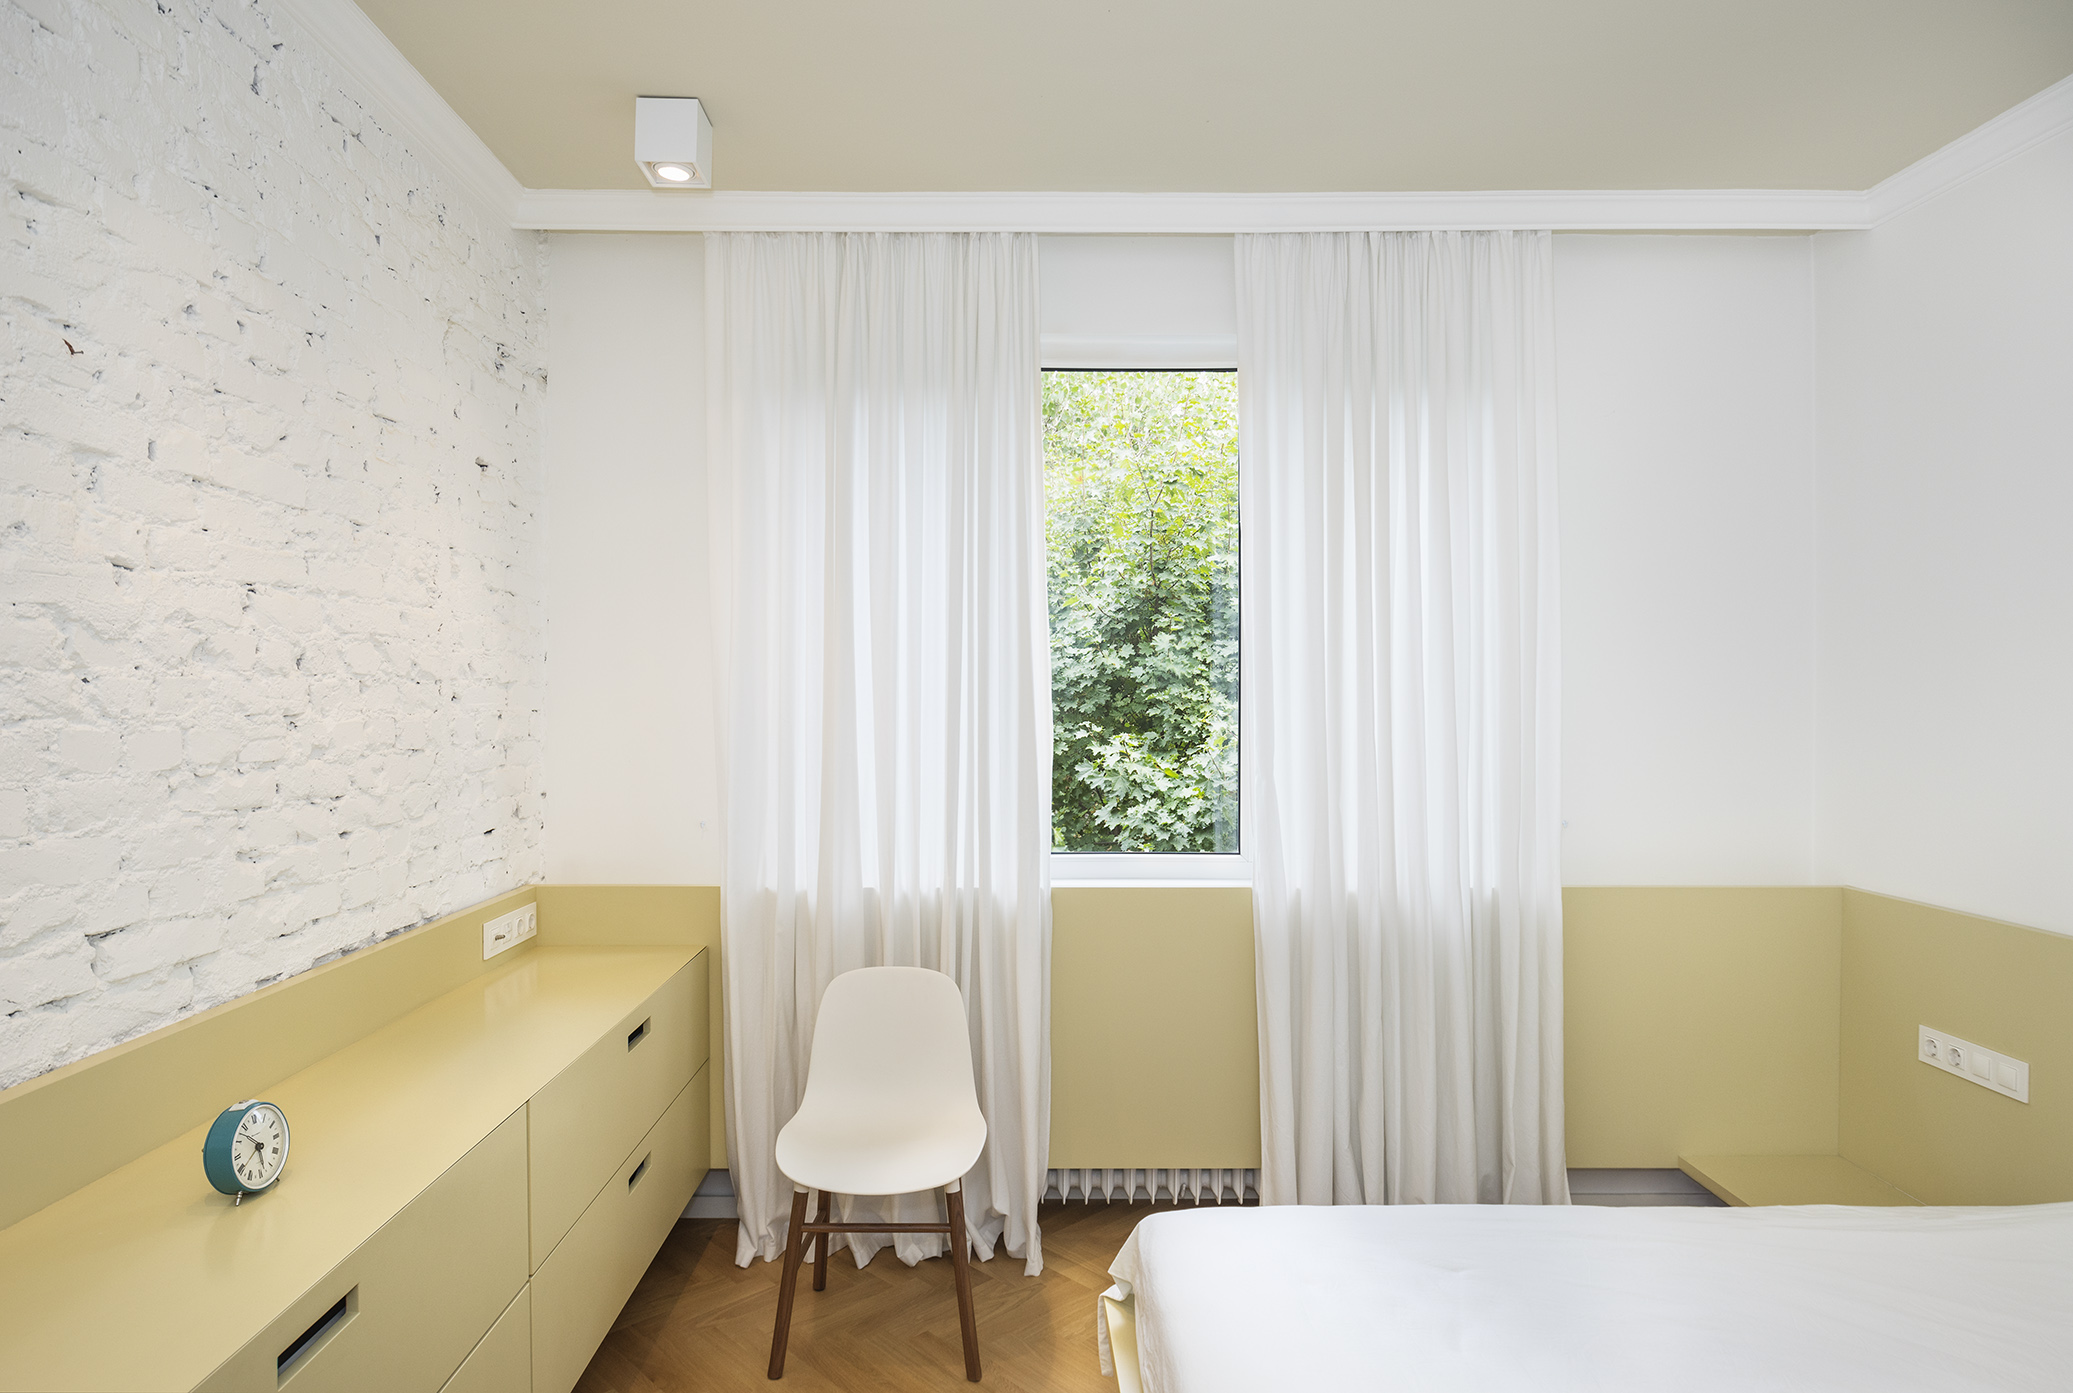
The main bedroom.

And from another angle. See the desk in the corner? 🙂


The old smaller bedroom is now the kitchen.


One of the great thing about the place and the main reason why I bought it was the second floor / attic space. The ladder we’ve now put in hosts my appliances — fridge, washing machine, drying machine. Isn’t the table a thing of beauty? 🙂

Getting up there though this was a challenge so we made the entrance a whole lot bigger 😉 It was quite a bit of work actually and we had to put in hidden metal beams in the ceiling to support the whole thing, but it was worth it.


The former attic had basically become somewhat of a storage space / dump for stuff the owners didn’t know where to put. The roof was in really bad shape and we had to take out most wooden beams and replace them, raising the level and adding a window in the process.


This doubles as a hangout area (will put in a movie projector and utilize the big white wall you see in the previous photo) and a guest bedroom, quite handy.


This is actually the original 1950s beam that holds the entire building roof 🙂


The original plan was just to have a small wash room and potentially a shower in here, but when we got rid of all of the stuff we found out the door you see the below is not the outer one, but there are actually a couple more meters of space beyond it. Hence why we realized this could be a full on bathroom, arguably the best one in the house given the light that comes from the top 🙂 We had to move some of the wooden beams of the roof to make that happen, but man was it worth it.


That concludes my personal tour of the place. But as a bonus, there you go – some professional shots of the place 🙂
Photos by: Asen Emilov


This is by far my most favorite image. Save the best for last, right 😉

So, anyone want a cup of tea? 🙂

Wow! What an amazing job you did. Love all the bright splashes of color too. Enjoy!
Thanks Melissa! The colorful touches are my favorite as well 😉
Fabulous, fabulous work. When you mention breaking through the wall, is that because you combined two apartments into one? It’s an extraordinarily large post-WWII apartment.
Nope, one apartment, but it had 4 separate rooms. I left the master bedroom alone, but combined the kitchen, living room and smaller bedroom into one space 🙂
Amazing work, you’re an inspiration to all new and future home-owners! 🙂
Thanks Vassy, appreciate you stopping by! Good luck in your own home ventures (I’m assuming you fall in the new or planned home owner category?), always fun 🙂
Wow. I kept scrolling, and every time I stumbled upon a new renovation picture, I just kept saying wow, woah. Amazing job!
Why thank you! I see you’re a regular blogger as well, keep it up 🙂
Some great work. I like how you kept the old beams, and did not cover them up with some horrid paint. Looking at your place I am thinking that you must not have children yet, as the house screams “no children live here.” I find seeing homes in other countries interesting, as it gives me something to compare my own failed DIY projects.
Haha yep, no kids yet 🙂 But yes, this was a laborious project, but one that paid off in the end.
Greetings I am so grateful I found your site, I really found you by
mistake, while I was browsing on Askjeeve for something else, Regardless I am here now and
would just like to say kudos for a tremendous post and a all round thrilling blog (I also love the theme/design), I don’t
have time to read through it all at the moment but I have bookmarked it and
also added in your RSS feeds, so when I have time I will be back to read a great deal more, Please do keep up the great work.